

Welcome to day three of our very first Launch Week!
The last two days we shared how alerting became so much better and how we moved one level up by completing our SOC 2 Type 1 audit.
Are you curious what’s next? I’ll tell you, but first let’s set the stage and look at Microsoft’s Playwright.
More than a headless browser control
As you may have noticed we’re big Playwright fans. The end-to-end testing framework convinced us with its rapid release cycles, innovative features such as auto-waiting and its ability to perform speedy test execution thanks to the Chrome DevTools protocol. It’s a perfect match to our Browser checks.
But only a few people realize that Playwright is more than a headless browser scripting tool. Over the last year, the team behind it pulled up their sleeves and built an entire testing framework around Playwright’s browser automation capabilities (@playwright/test).
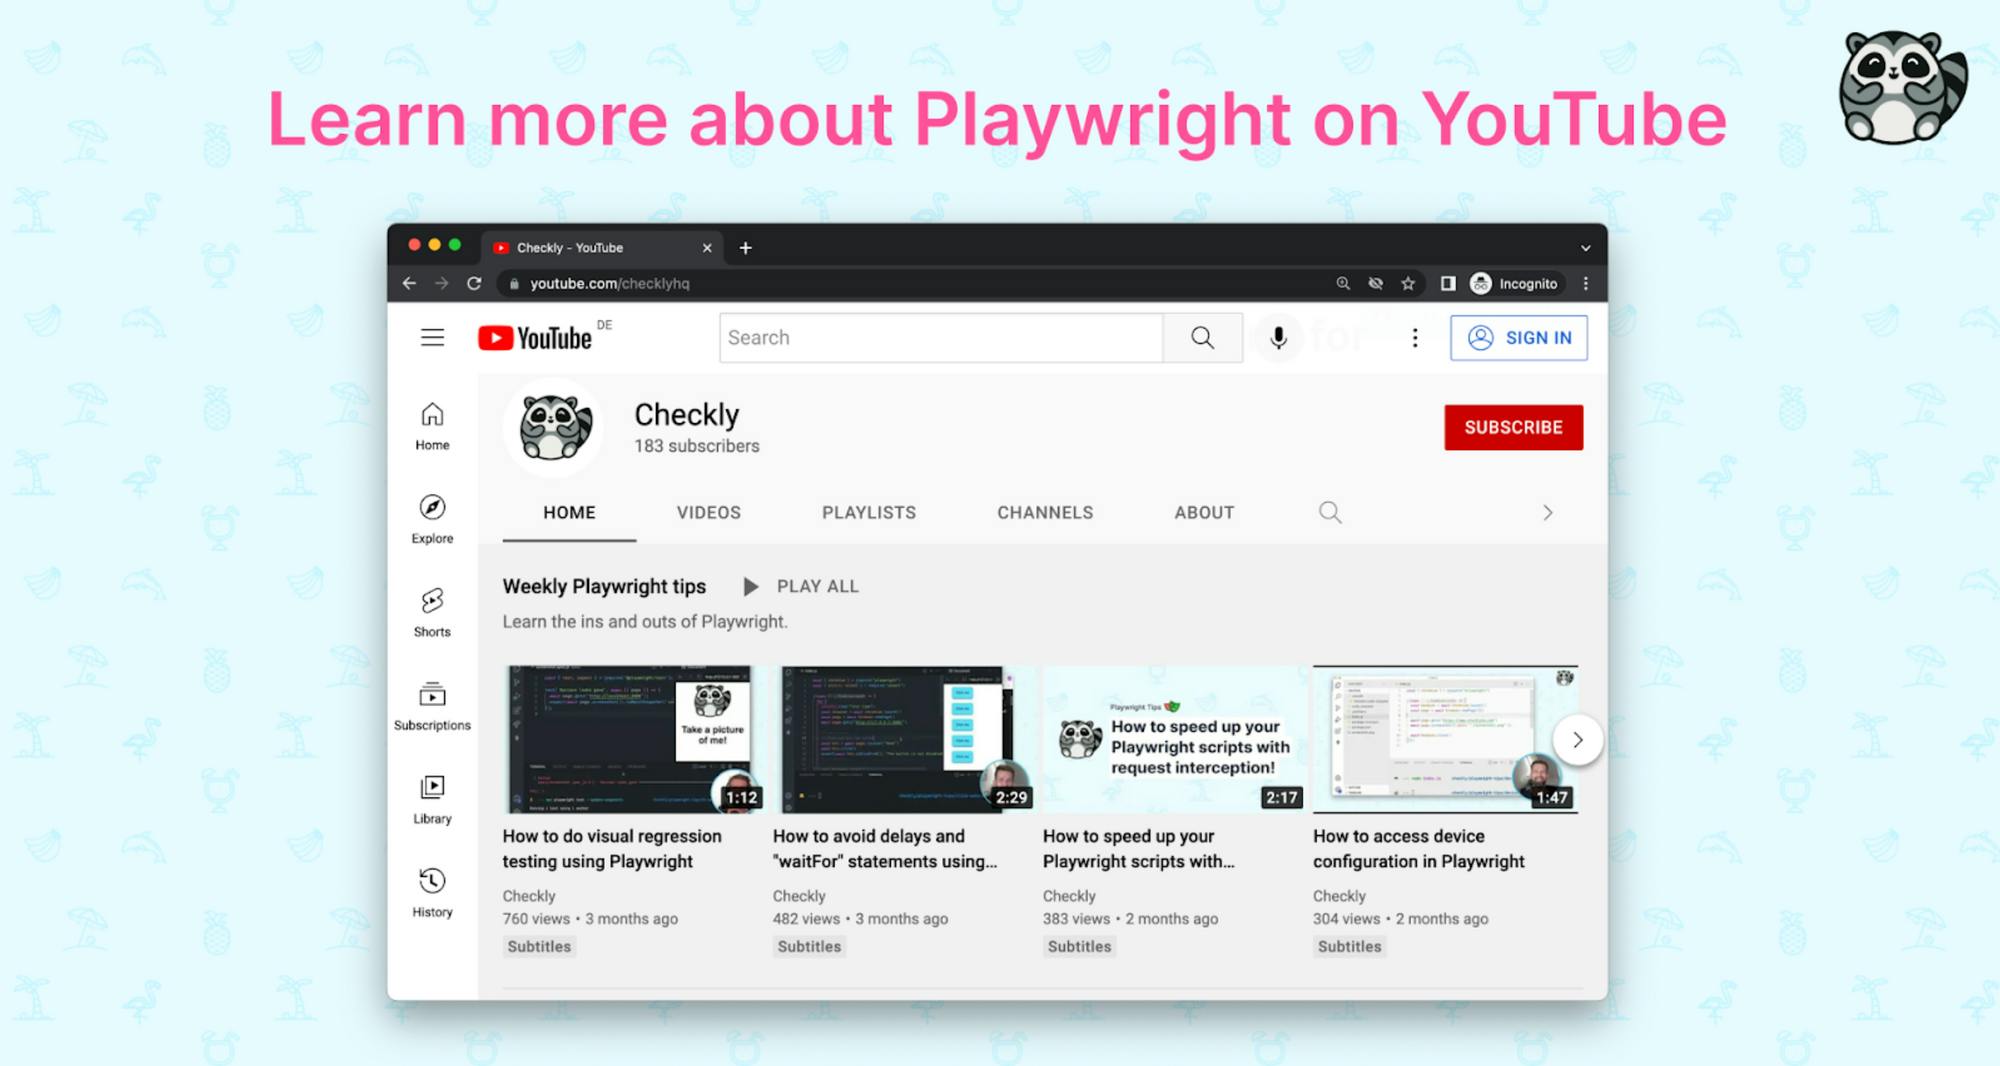
The npm package includes a test runner, a delightful assertion library, and many other features to ease the pain of end-to-end testing. It’s so good we started sharing our favorite Playwright tips on YouTube.
And now that you know that Playwright comes with a test runner, I’m excited to tell you that @playwright/test is also available in the Checkly runtime 2022.02 as a public beta.
Playwright test examples in your Browser checks
Playwright’s test runner is included in the current runtime so that you can require it in your Browser checks.
const { test, expect } = require('@playwright/test');

test('homepage has Checkly in title', async ({ page }) => {
  await page.goto('https://www.checklyhq.com/');
  await expect(page).toHaveTitle(/Checkly/);
});
And while the above Browser check isn’t very exciting yet, the ability to require @playwright/test and use all these additional features makes my fingers want to keep typing and try all these new capabilities out!
Let’s look at some core features!
Multiple tests in one file
First of all, you can now include multiple tests in a single Browser check by reusing Playwright’s test method.
const { test, expect } = require('@playwright/test');

test('login success', async ({ page }) => {
  // …
});

test('login failure', async ({ page }) => {
  // …
});

test('reset password', async ({ page }) => {
  // …
});
But heads up: Before you put all the tests into one Browser check, keep in mind that a Browser check will be capped at two minutes.
Playwright’s test runner has more to offer than the test function, though!
Web-first assertions
It took me a while to realize that Playwright’s provided expect not only bets on Jest’s testing library but also enhances it with many web-specific utilities. Convenience methods to test classes, element visibility, attributes and much more are at your fingertips.
Let’s look at an example:
test("toggles items correctly", async ({ page }) => {
  await page.goto("https://your-site.com")
  const item = page.locator(".item")
  await expect(item).toBeVisible()
  await item.click()
  await expect(agendaItemBody).toBeHidden()
})
This test case locates a specific element, tests if it is visible, clicks it and checks if it is hidden afterwards. And even though it doesn’t look like it, these few lines include some extra Playwright magic.
The Playwright team’s goal is to enable UI testing without many waitFor statements because hardcoded timeouts are the most common reason for flaky tests. And to avoid magic numbers in your Playwright test script and make your tests run as quickly as possible, Playwright has waiting built-in!
If you look at the code above, it includes so called web-first assertions and their core-feature is that they automagically wait. expect().toBeVisible() waits for an element to become visible. item.click() waits for an element to be clickable. expect().toBeHidden() waits for an element to disappear.
Using Playwrights auto-waiting features help you avoid timeouts and waitFor statements and this makes your code easier to grasp and your tests less flakey. Win-win!
If you want to learn more, find a quick web-first assertion explainer on YouTube.
But there’s one more thing I want to highlight! Assume you run hundreds of automated checks but a few of them fail occasionally, how do you debug them?
Debug your tests with accessible Playwright traces
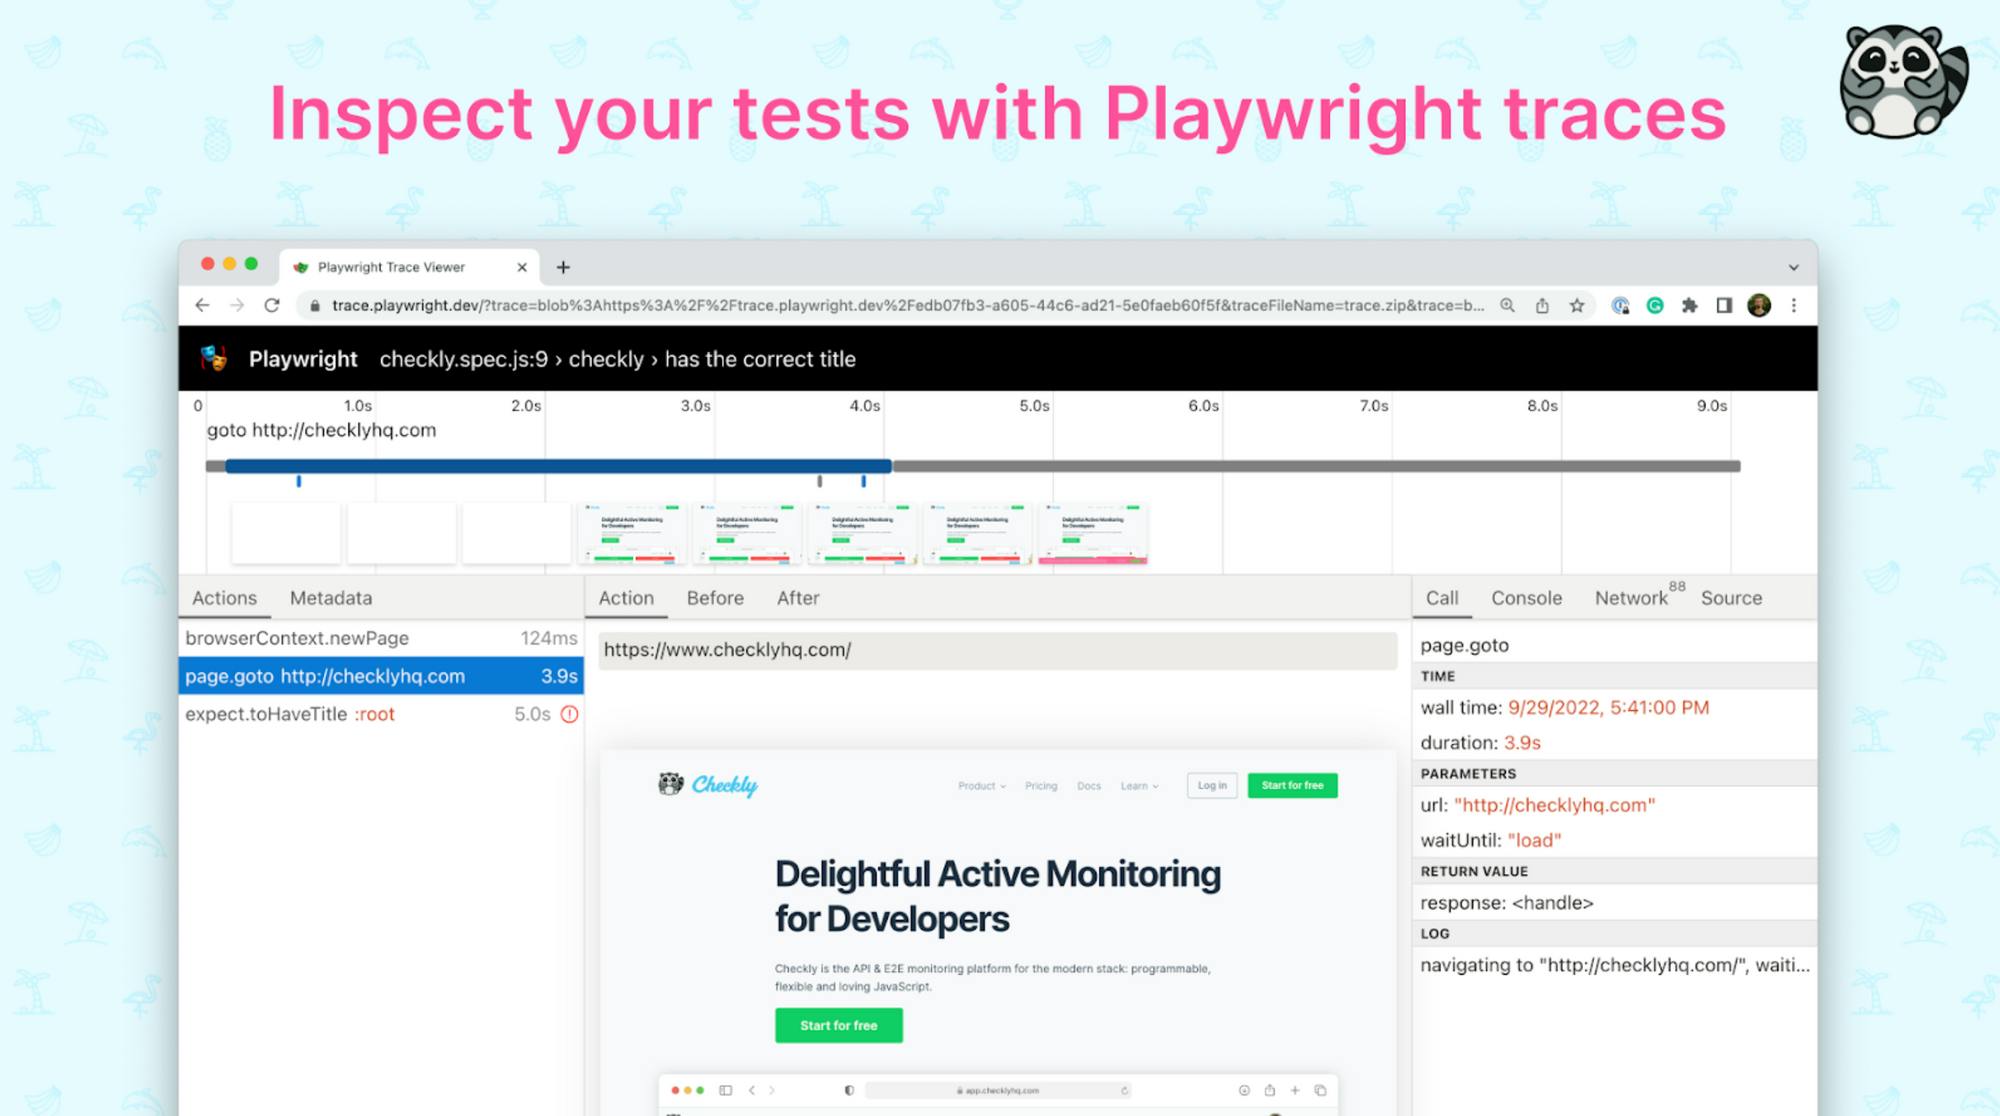
The integrated Playwright test runner allows you to record test traces to debug your tests. But what’s a Playwright trace?
When Checkly starts to run Playwright tests, we generate a trace.zip file that holds all details about your previously run tests. It includes screenshots, your Playwright function calls, HTTP requests and responses, and much more.
Playwright trace files are the perfect companion to debug test failure. And because you shouldn’t unpack and inspect all these zipped files yourself, we automatically open traces in Playwright’s Trace Viewer right from the UI!
Traces are a phenomenal improvement to the overall debugging experience and I’m more than excited to tell you that you can now use them!
And these were all the new Playwright features for Launch Week day three! Give Playwright’s test runner a try, I promise you, it’s worth it!
Tomorrow, on Launch Week’s last day, we’ll cover a new way to manage, update and write your Browser checks. Am I talking about GitHub Sync? You bet!
Say Hi in our new community Slack and I’ll talk to you tomorrow!